Showing posts with label freemo module. Show all posts

Tuesday, 9 July 2013

The modules go back together at last.


This week the club space was a hive of activity as the modules were re-configured and tested ahead of our next running session.  I had attached the new feet to my module just in time for it to be added to the loop.


I also spent some time drilling holes and 'planting' the latest batch of trees from ebay.  I'm using the medium green Chinese trees that are sold by everestmodel direct from asia.  They are pretty good as filler trees and work out less than 50p each which makes them ideal for filling out scenes.


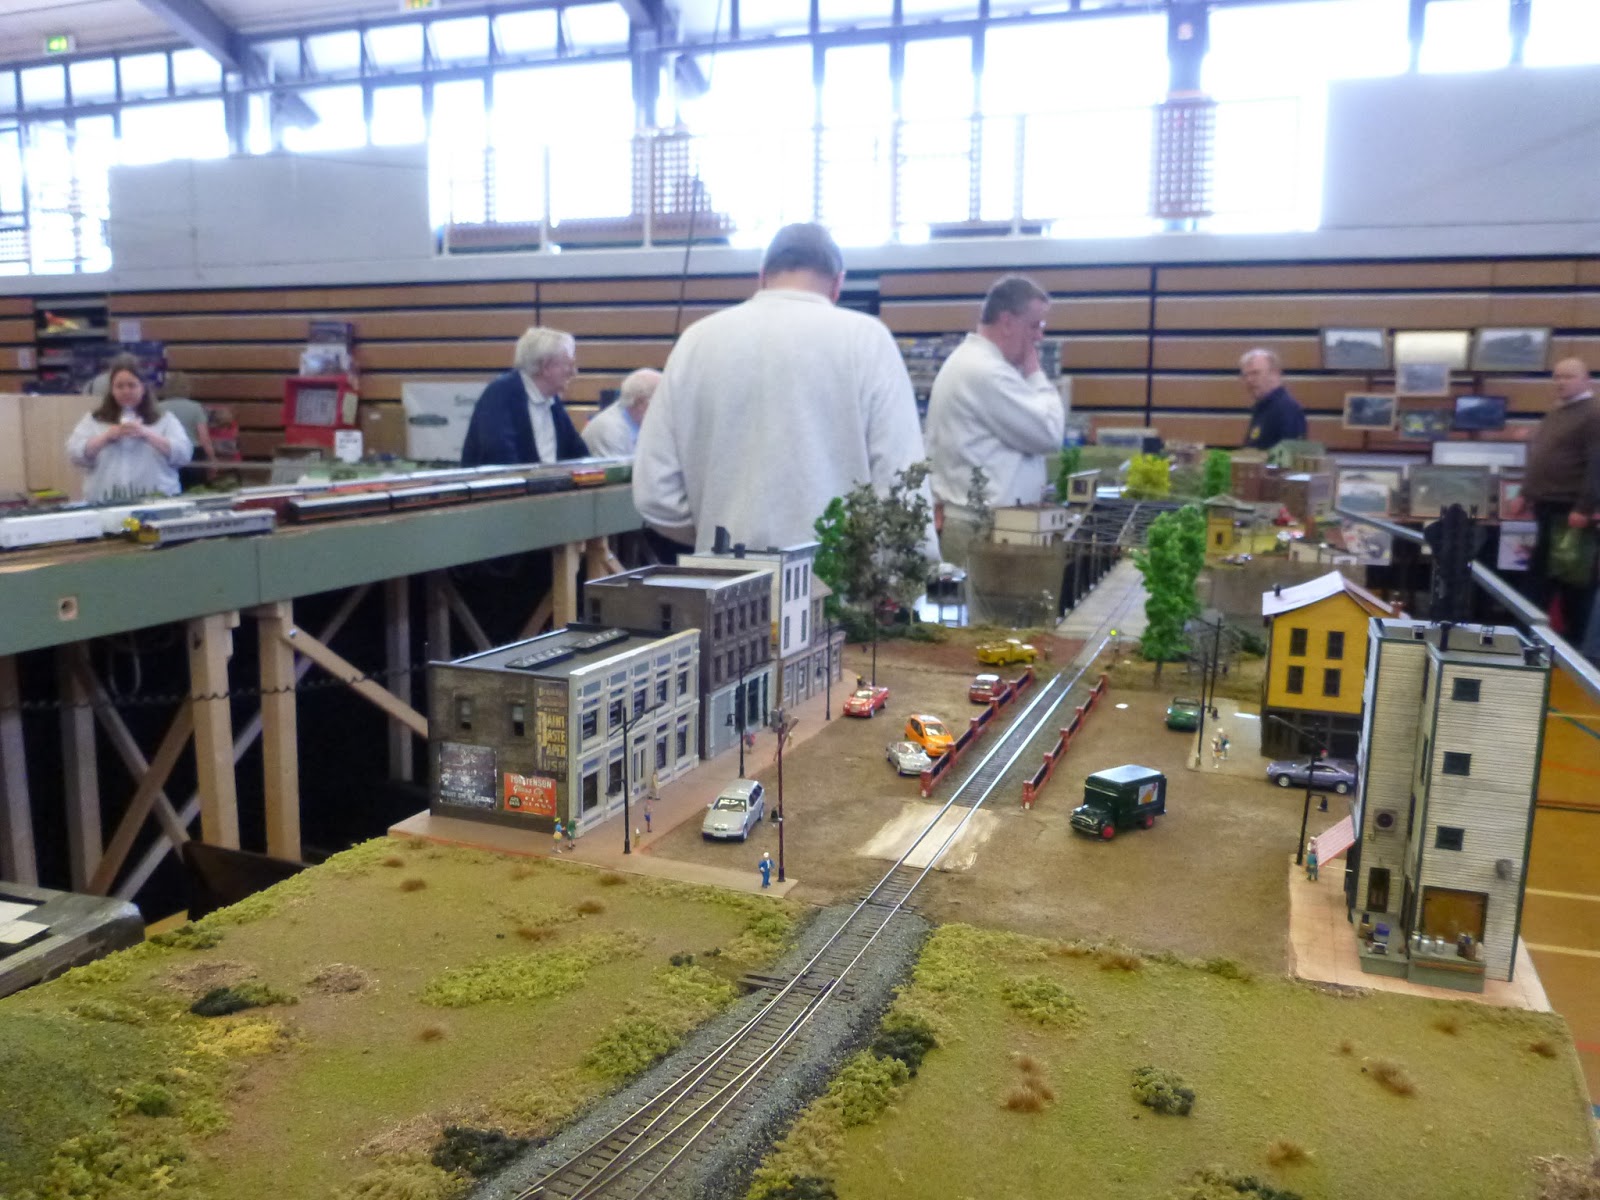
The new boards are coming along nicely, with the paper mill and grain industry spurs laid and partly ballasted.  The roads are marked and a couple of model trucks show where they will be.


There are still nine weeks until our show and the boards will continue to be worked on until then.  We should have space to fit as many boards as are ready by then.

Thursday, 16 May 2013

Crawley Exhibition 2013


The first official outing for our club modules was this years Crawley MRS held a couple of weeks ago at Tanbridge House school in Horsham.


The weekend was a bit wet and windy, but there was still a good turn out for the show, especially on the Saturday, with plenty of families in attendance alongside the regular hardcore modellers.


I put some extra time into my module to get the buildings completed and painted, I was able to finish the glazing and roofs on all of them, but the signage and interior detailing will need to be completed later.


The other club members pulled out all the stops to get the connecting boards and the yard completed in time, and we had a full circuit of boards with scenery that included my town and Pete's swing bridge.


I was able to run some of my stock, including my new Genesis GP38-2 and a host of Norfolk Southern locos including my Kato GE set and the SD80MACs.


There were plenty of great layouts and exhibits to see and I've added a few photographs of them below:


Sunday, 2 September 2012

Freemo Board Update - Dirt (Not Dirt)

Just as I thought I was finished with the messy work on my module, it turned out there was a problem with my scenery.


The club module spec didn't specify a particular type of dirt, so I decided to use regular garden dirt, finely sieved.  This seemed to work pretty well, but the dirt stayed a dark 'wet' colour after glueing which gave my board a very distinctively post-rain feel.

Now that some of the other boards have been completed by other members I realised that their dirt areas were far lighter in colour.  It turns out that most of the guys are using a special dirt powder marketed by 'Treemendus'  http://www.treemendusmodels.co.uk/ which doesn't dry dark like the regular garden earth.


I ordered up some of the Treemedus 'earth' powder and spent some time over the weekend re-doing the various open areas on my module.  The earth powder darkens when wet but dries light again, giving a much nicer effect, the module now looks like a dry dusty day instead of a damp one.


I will need to redo some of the ground foam to recover areas and blend the joins to the existing scenery, but the board is certainly looking far more 'to spec' than before!


Time is getting tight for the club show is in three weeks so I have also been working on the buildings, and I have adapted a Rix 'Smalltown USA' store to fill the awkward curved space on the corner of the board. 


I need to get the buildings detailed and painted this week so I can get the board back to the club space and the electrics tested ahead of the ballasting.  Lots to do!


Wednesday, 1 August 2012

Freemo board update


I managed to get a little time this week to lay some more ground cover onto my module, and successfully filled out the missing bottom left corner beside the warehouse and the banking beside the farm track.

The original paint colour I used for the base was a little too red and clay-like, so I also mixed some brown paint to a shade that matched the garden dirt I've been using, this means that the farm track and other open areas are now much closer in tone to the rest of the scenery.

The only major section of the base that remains is the custom foundation for the three buildings that form the outer edge of the town.  These buildings need to be cut to fit, so I haven't been able to complete their foundations yet.

I will also need to repaint the road surface with a darker shade, as the grey I have used is looking far too pale.
The bridge metal over bridge is taking shape, and I have got the deck completed and ready for paint, I have also purchased some Wills girder sections that I plan to use as supports for the main part of the bridge, and I may reinforce these with brass depending on how vulnerable it seems.

Monday, 25 June 2012

Freemo Module Update - Laying the turf

Good weather today so I was able to crack on with the scenery for my module, adding the first layers of grass onto the landscape.


The standard for our club modules is Woodland Scenics 'medium green' groundfoam, so I needed to keep my grass close to that colour, I used a mixture of different colours, but mostly the regular 'fine grass' and 'medium turf' types.


I had already laid a base layer of dirt across all the landscaped areas on the board, this was simply sieved garden dirt held in place with Woodland Scenics scenic cement.


I am using a 'wet on wet' method to layer the scenery, painting the base, then spraying scenic cement and sprinkling the dirt, then spraying again and adding the groundfoam and so on.

Spraying cement on Initial dirt layer.

Sprinkling fine grass layer as grass base.

Finished base grass layer.

More glue then adding layer of thicker 'turf' foam.

The rock castings were tinted with a wach of black acrylic, but on reviewing them I decided they were still too pale, so I added another thicker wash using grey acrylic to help darken the overall colour of the rocks.

Work in progress - Note the road areas masked off.

 The results are looking very good, and I'm very pleased with how the module is progressing.  There are only around ten weeks until the show, but I am confident I can get the scenery finished before then.

The next stage will be to finish building the scratchbuilt metal overbridge for the farm track and bedding it into the scenery.  The module will also need a fair number of trees, so I will investigating what is the best option for making/buying those.

Here are a few more pictures to show the results of the work so far.