Sunday, 19 July 2015

Rocking it on Godinez - The first Rock Island train hits the rails

After a busy weekend sent shifting boxes, unpacking boxes, repacking boxes and taking boxes to the charity shop... I finally cleared enough space in the man cave to start sorting out the rolling stock which has been accumulating over the years.  


First order of business was to get Godinez up and running again, this time with some Rock Island rolling stock instead of the random roadnames I usually run with.


I found I had put together a pretty respectable stack of Kadee rolling stock  from various second-hand purchases and ebay auctions, these gave me enough to run a pretty decent branchline train.  


The short Kadee hoppers are more suited to cement duty but a full-size grain car would dwarf the short spur track on the layout.


Once I was able to find my Proto GP9's one of them spent a good few hours testing the layout this evening.  The layout runs pretty well, aside from a slight connection problem that seems to affect the GP9 on one section of track. 


A GP30 handles the same section without any trouble, so I suspect the scenery is fouling the GP9 and causing it to lose pickup.


The good news is that the various accessories and crossing signal lights and audio still work, as do all the points.  The barrier gate and searchlight signal have given up the ghost and will need to be repaired.


I will strip and repaint the backdrop this summer while the weather is still dry.  It was originally covered in paper and the surface has bubbled over the years, a few coats of paint and some fine sandpaper should get the backdrop looking good as new. 


I will also need to refresh the trees and groundcover as some of it has seen better days.  I have plenty of woodland scenics in appropriate shades so I will be able to spruce things up without spending any extra cash.

Saturday, 18 July 2015

Magazines on Doovd?


I recycled my collection of Model Railroader magazines as they were taking up too much space, I had a dozen years bound in official binders.  Turned out they had zero resale value as four listings on eBay didn't get any nibbles.

So of course, as soon as I dumped them I needed an article on the SD50, and I figured I would just go online and buy the 75 year DVD collection right?  Wrong.  Out of print and none in stock anywhere.  Turns out Kalmbach have replaced the DVD collection with a subscription service that runs alongside their regular subscription for an extra $3 per month.  Naturally there is no way to subscribe just the the archive, so the only way to read old back issues is either pay $36 per annum on top of a $60 subscription, or purchase back issues on eBay.

Good job Kalmbach.  Good.  Job.   Why not allow us to download individual issues for a small fee? Or give the option for a standalone archive subscription?

So I've been looking on eBay for a second hand copy of the DVD set for over a year and they just never seem to be listed, until finally this week someone put on up for sale.  £30 later and I have almost 900 issues of MR at my fingertips, including all the issues I missed in the 2000's while I wasn't active in the hobby.


The set comes on three DVDs housed in a regular plastic DVD case, with a single sheet of installation instructions.  The software is on the first DVD and the other two contain the actual magazines as individual locked PDF files.  Compatible with Windows Vista and Windows 7, the set is slightly cumbersome to use, and very slow to install, but as long as you know the issue you want (the Kalmbach website index comes in useful here as the DVD set search function is not much use) then it does work fairly well.

The magazine scans are a little low resolution and fuzzy, but perfectly readable - on a par with the Trainlife scans of Prototype Modeler, and apart from the plan drawing being a bit soft, they are mostly pretty good.  It definitely beats having a massive stack of heavy paper issues cluttering up the garage.

Sunday, 29 March 2015

GP60 Build - Back on the bench at last.

I finally dug out the GP60's and got them on the workbench. Now I've got a proper modelling cave in the garage I can work on a build without taking over the kitchen table.


In the meantime I've acquired a Proto 2000 GP60 shell which I was able to use as a comparison.

First thing I noticed was that the models weren't as correct as I remembered, the horn looks too low on one of them and the cannon sub-base was definitely sitting on a warped walkway.


So, a bit of jimmying with a scalpel and the nose and sub base are off the model and ready to be re-fitted.  A small piece broke off the edge of one sub-base but it will easily glue back on.


I realised that I had glued them in place with the shell sitting flat, but due to the low pilot face that resulted in an upward bend on the walkway - the solution is to let the pilot face overhang the edge of the workbench when fitting the nose.


Second thing is that the horn looks too low down on the hood.  It came with a really tall looking horn stand that I thought was too big, so I just glued the horn directly onto the top of the hood.  Looking at it now I'm thinking the horn should be up a bit higher.

Wednesday, 4 March 2015

NMRA Winter Meet - Northampton

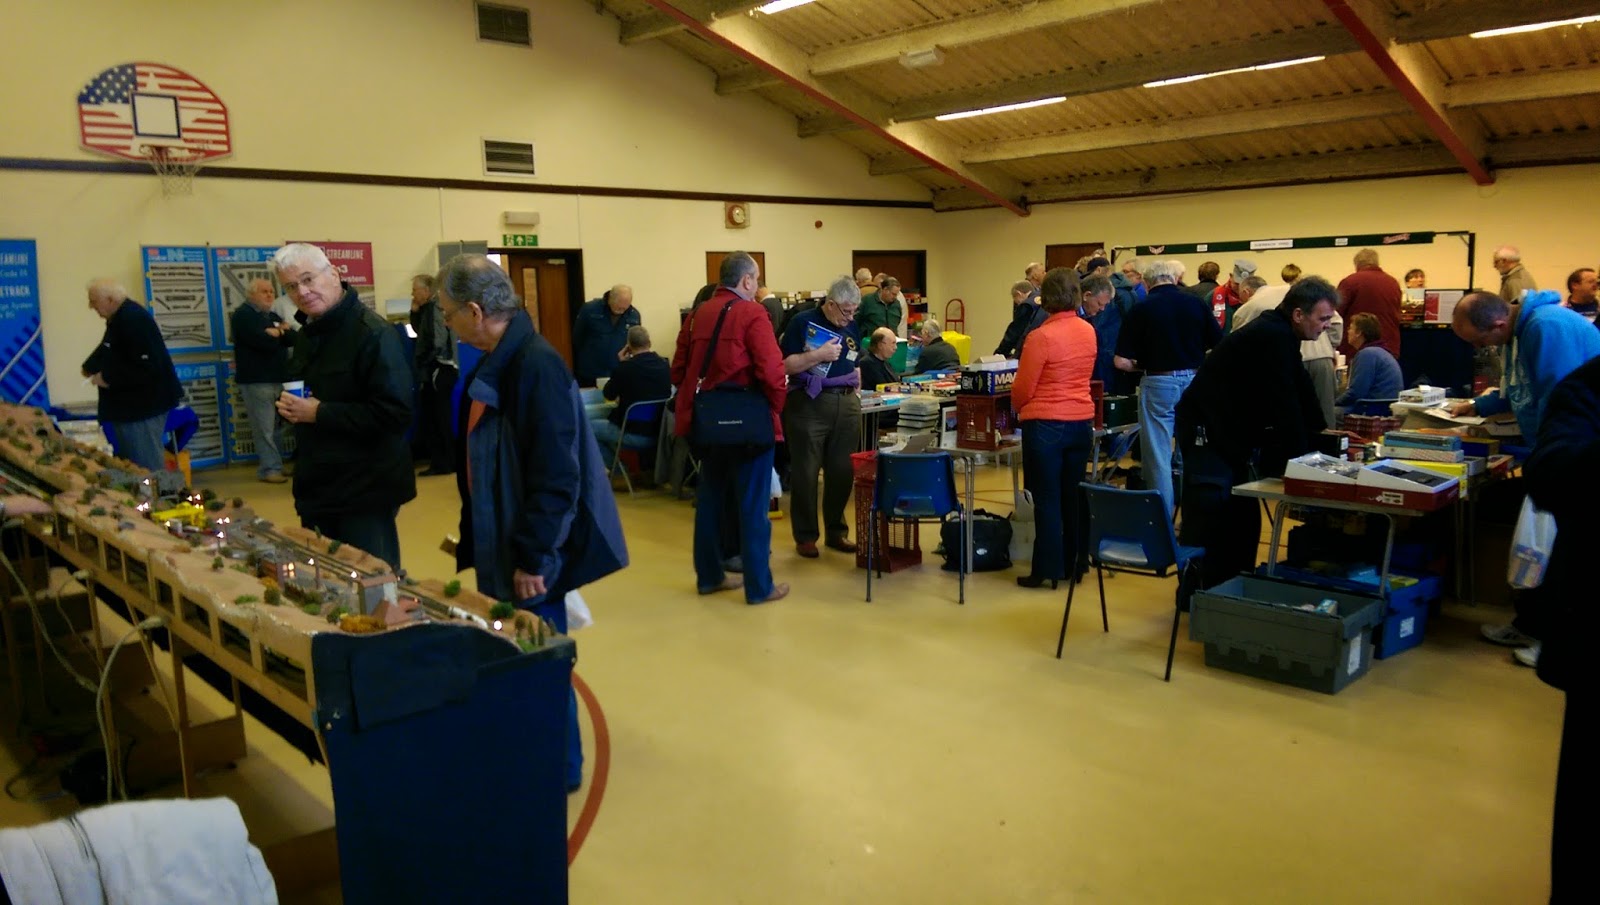
This weekend was the delayed NMRA winter meet, moved from it's usual Benson location to a hall in Northampton.


The meet was mostly focussed on traders and bring-and-buy with only a handful of layouts.


There seemed to be a really good turnout and the hall was very busy, it certainly seemed like more of a crowd than Benson usually attracts.


There were plenty of bargains to be had at the sale tables and as usual I picked up a few goodies.


Several trailers, containers and three kits - a pair of old Milepost 501 Furehaf Z-Vans and a partially built and slightly damaged Lonestar Trailmobile 40ft flatbed.


I also picked up a couple of blue box locos, a basket-case GP50 and a nicely painted GP60, both of which will become donor locomotives for my planned SD60 kitbash which I hope to have ready for this years convention.


The GP50 was clearly destined to be a super-detailing project before it was abandoned, presumeably when a more detailed rtr GP50 was announced.  The frame has been very nicely milled and filled to allow space for piping and frame sides.

I'm mostly interested in the shell parts, but the trucks, motor and frame may see use in another project, either it's all good fodder for the parts collection along with some GP38-2 parts that were also in the box.

Friday, 27 February 2015

Gas Station Build - Part 8

The challenge deadline is tomorrow so I sat down at the workbench and finished the final details on the gas station this evening.  

 
The roof sign received a coat of paint before being superglued to the roof.


The gas pumps each gained a hose cut from thin insulated wire and glued to the base, as well as some extra colour on the small details, I picked out the various rags and details with some neutral blue paint using a fine brush.


I also cleaned up the edges on the tops of the walls, I plan to keep the roof removable and I decided to paint them and make the presentation a bit neater.

With all that done the model is complete.  It's been a lot of fun putting it together and I'm really pleased with the final result.  I still plan to use it as part of a square-foot diorama but that will need to wait for another day as I am out of time.

Here are some detail shots of the finished gas station.


Thursday, 26 February 2015

Gas Station Build - Part 7

The challenge deadline is two days away so I am still working full tilt on the gas station, I retouched the paint around the windows and fixed some areas where the grime wash had been a little too heavy.


I created a few more decals and printed them on my laser jet, then placed them directly onto thin styrene to make the signs and glued them in place.  Each sign received a brown painted edge to make them look like rusting tinplate.


The glazing was added using canopy glue and I printed a set of window blinds on paper to add some extra detail, designing the page so that it would print double sided.


I also created a few small pamphlets and a poster to add some detail to the counter area.


The missing gas pump details were tricky to fix, I tried creating a replacement cap piece out of styrene but it wasn't possible to match the existing kit part.  I also realised that there were more pieces missing than I had realised, a google search for images of the kit showed that the gas pumps should have three parts, I only had two, there should be a cylindrical 'sight glass' section to them.  

 
I pulled the pumps apart again and fashioned a pair of sight glass sections from some sprue I had in my bits box.  

I was seriously considering buying a second kit to obtain the missing cap piece when it occured to me that one way to get round the problem was to cover it up.  I fashioned a small 'tarp' from tin foil and made the pump look as if it was broken and out of use.  Job done.


The final work completed this evening was the rooftop sign, this is a tricky shape to cut due to my decision to try and emulate the Gilmore Gas logo with it's circle motif.  I attached the sign decal to a piece of styrene and trimmed round it to create a closer match.


The sign will be painted before it is attached to the main roof of the gas station, and should look very close to the one from the original reference image I posted earlier.

Wednesday, 25 February 2015

Gas Station Build - Part 6

An update on the gas station build, continuing the painting and adding the secondary colour to the main structure.  The looming deadline made me rush things a bit and that resulted in a few mistakes and blotches in the paintwork.
 
 
 I will need to patch some of the main wall colour before I add the rest of the weathering in the next session.


The missing parts for the gas pumps are beginning to bug me, so I may have to give in to the temptation to buy another kit to complete them!  We shall see.