Way back in the mid-eighties the Hornby catalogue carried a full page photo spread showing an urban street with diner, shops and cinema. The pictured scene really sparked my interest and I waited impatiently for the kits to arrive in my local model shop. They never did, and by the next year there was no mention of the kits as they quietly disappeared from the release schedule.
I forgot all about those kits until a few months ago when I came across an ebay auction for a cinema kit from Tyco. The kit looked exactly like the unreleased Hornby model from all those years ago and after some googling I discovered the Tyco 'Center Street' series of kits manufactured and marketed in the US in the early eighties.
That particular ebay auction ended at well over £30 which seemed steep for such an old kit, and I was far outbid, but over the months since then I've only seen a handful of them come up for auction. This one was pre-built and ended well below a tenner so I've finally got a "Hornby" cinema after all these years.
The model is made from nicely detailed plastic parts, similar to the AHM or Heljan kits of the day, with coloured plastic and stickers for the marquee and posters.
The printing is surprisingly low quality compared to the decals that Revell produced in the fifties, with the marquee text being particularly low in detail, almost looking hand written instead of suggesting the removable plastic lettering that a real cinema would use.
The model makes use of the real-life 'Lowes' cinema chain name, which may explain something about why it has not been reissued, no doubt there are licensing issues with the brand name and because the lettering is moulded in it will be expensive to re-tool it for a reissue.
I'm planning to use this kit as part of my entry for the square-foot diorama at this years NMRA convention in October.
If you're interested in finding out more about these kits here's a great website dedicated to the Tyco range including a detailed list of these kits http://www.ho-scaletrains.net/tycokitsandbuildings/id49.html
Showing posts with label kits. Show all posts
Sunday, 27 January 2013
Saturday, 31 March 2012
A bulk lot of Lindberg truck kits...
Although I had managed to get hold of several GMC Astro truck kits, I was really looking to get hold of some of the Ford CL-9000 kits in the same range and especially some of the sleeper cab version of these trucks.
I found a second hand kit dealer in the US Freds Kits that listed several different Lindberg kits so I snapped them up. With the arrival of this latest group I've now got a further two large cab GMC's and a pair of large cab Fords.
1052 Ford CL-9000 Box Trailer - "Over The Road"
1055 GMC Astro Refrigerator Trailer - "Cool Way"
1045 GMC Astro Box Trailer - "Freight Van"
I found a second hand kit dealer in the US Freds Kits that listed several different Lindberg kits so I snapped them up. With the arrival of this latest group I've now got a further two large cab GMC's and a pair of large cab Fords.
1052 Ford CL-9000 Box Trailer - "Over The Road"
1055 GMC Astro Refrigerator Trailer - "Cool Way"
1045 GMC Astro Box Trailer - "Freight Van"
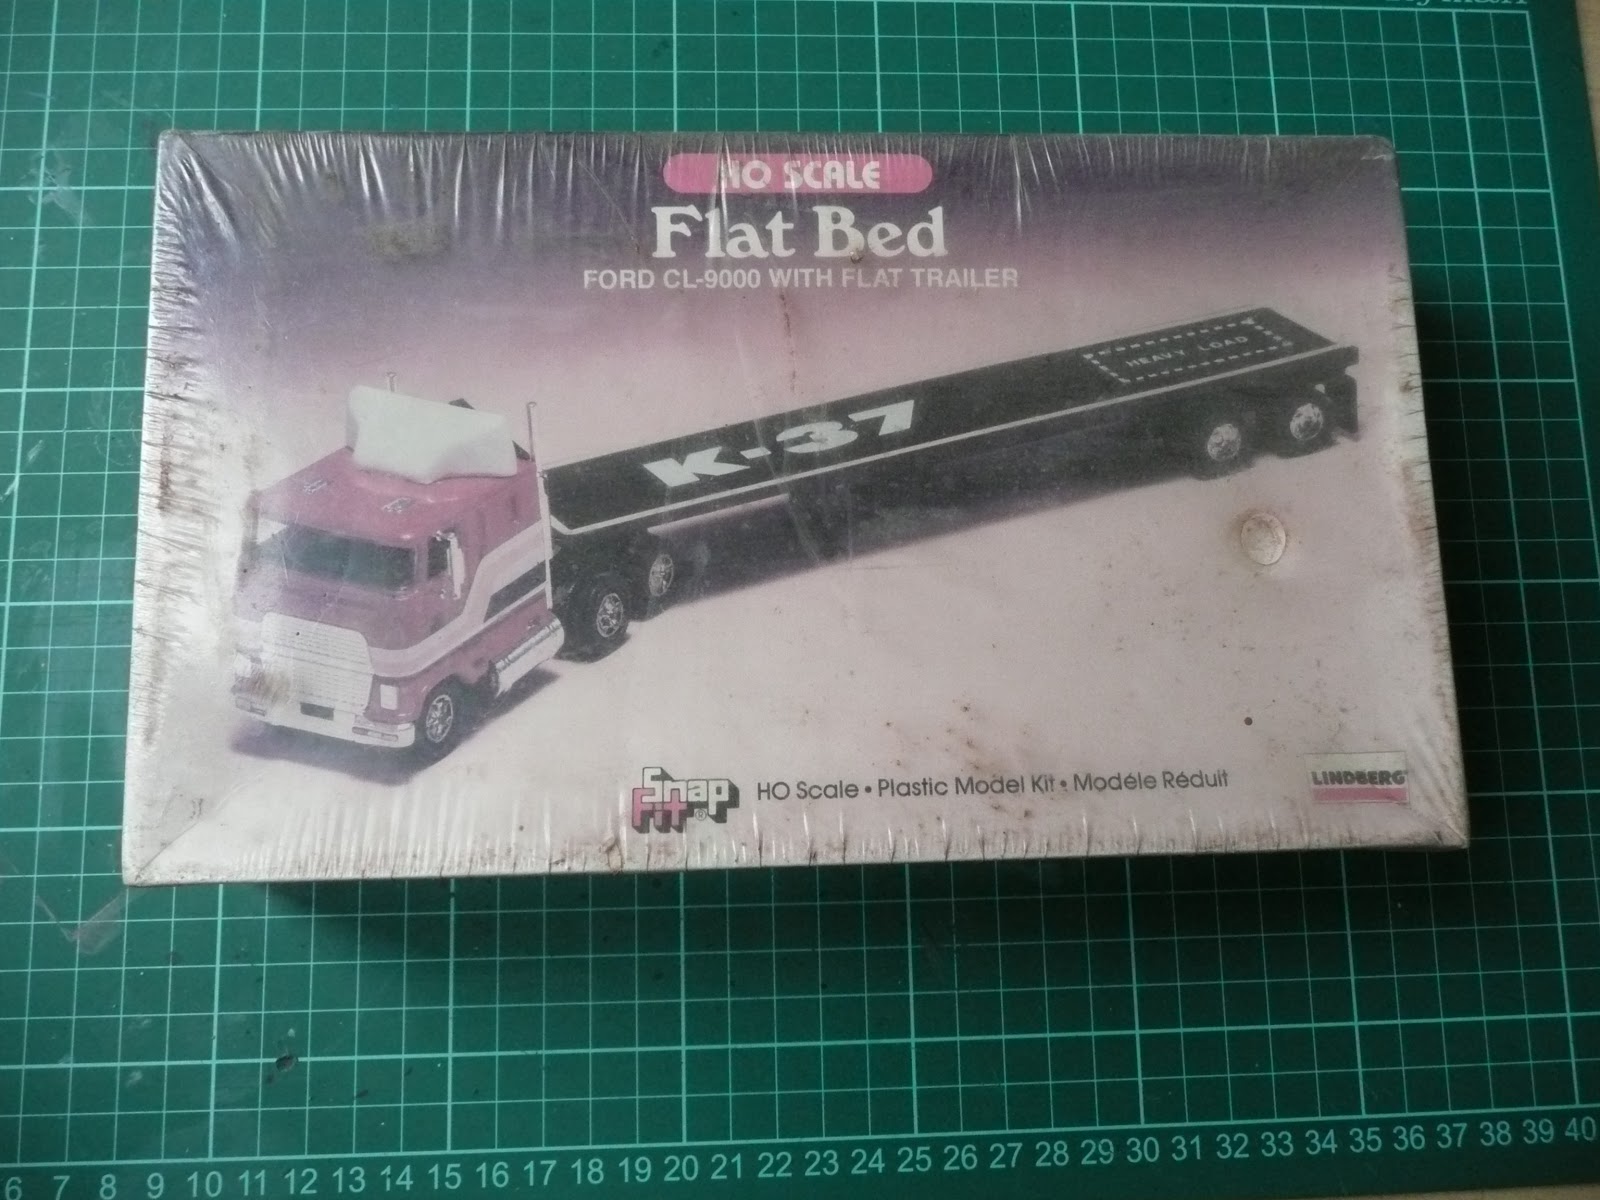
Ford CL-9000 Flatbed -"Flat Bed"
All of these are sealed and unused, although the Ford flatbed box is very faded and dusty from being stored for almost quarter of a century. The most interesting thing about these kits is the price tags that show these kits retailed for $2.50 each, so they've increased fourfold in price.
I will need to try putting one of these kits together soon, especially as they are snap-fit construction and don't need any glue.
Friday, 27 January 2012
Structures for the freemo module
I spent some time working on the buildings for my module today, and both of the Rix bungalow kits are assembled and ready for painting. I will be painting one of them blue and the other pale yellow, to add a touch of colour to the front of the module.
I've glued the roofs in place but kept the porches seperate for now to make painting easier. A small section of evergreen profile styrene has been added to reinforce the porch when it is attached.
Both bungalows ready for painting. The chimneys have been capped with leftover pieces of the plastic sections from the wall tops and I may add chimney pots from sections of styrene tubing.
The third building is another Rix kit 'Johns Place Corner Store'. This kit is similar to a regular DPM building, but the quality of the moulding is much better and the kit fits together with less cleanup.
I added a plasticard step to the entrance where the pillar meets the ground, and filled the area above the porch to prevent light leaks.
I used squadron putty to fill the moulding holes along the back of the main side wall, then sanded smooth ready for painting.
Here is a shot of the main components after assembly, the roof is yet to be detailed, but I will be adding roof hatches, air vents and a chimney before I paint the building.
I plan to detail this building as a camera store, with suitable signage and detailing to serve any time period from the sixties up to the late eighties.
Friday, 13 January 2012
Structures for the freemo module
Today I began putting together some of the other kits that will make up the town on my freemo module.
I'm using a combination of DPM and Rix kits for the module, and these two were by Rix, a corner store called 'Johns Place' and a clapboard bungalow.
I assembled the main parts of each kit to help judge the final positions for each building on the module, and also used my NSWL True Sander for the first time, it certainly helped to square the walls on the corner store kit before assembly.
I used extra bracing pieces inside the corners, by gluing short lengths of square profile evergreen styrene.
I plan to add some extra detail on the roof edges of the bungalow and the corner store may also feature and interior.
I will update more on these new buildings as they take shape.
I'm using a combination of DPM and Rix kits for the module, and these two were by Rix, a corner store called 'Johns Place' and a clapboard bungalow.
I assembled the main parts of each kit to help judge the final positions for each building on the module, and also used my NSWL True Sander for the first time, it certainly helped to square the walls on the corner store kit before assembly.
I used extra bracing pieces inside the corners, by gluing short lengths of square profile evergreen styrene.
I plan to add some extra detail on the roof edges of the bungalow and the corner store may also feature and interior.
I will update more on these new buildings as they take shape.
Labels:
freemo module,
kits,
NSWL,
plastic,
rix,
True Sander
Subscribe to:
Posts (Atom)