Wednesday 30 May 2012

Freemo Module Update - Fascia it!


Here's another quick update on the module.  I've got the rest of the plasterwork done and the fascia boards cut and mounted.

The fascia panels were cut from 3mm mdf and trimmed with a hacksaw to fit, with some fine tuning and edge preperation using a hobby knife


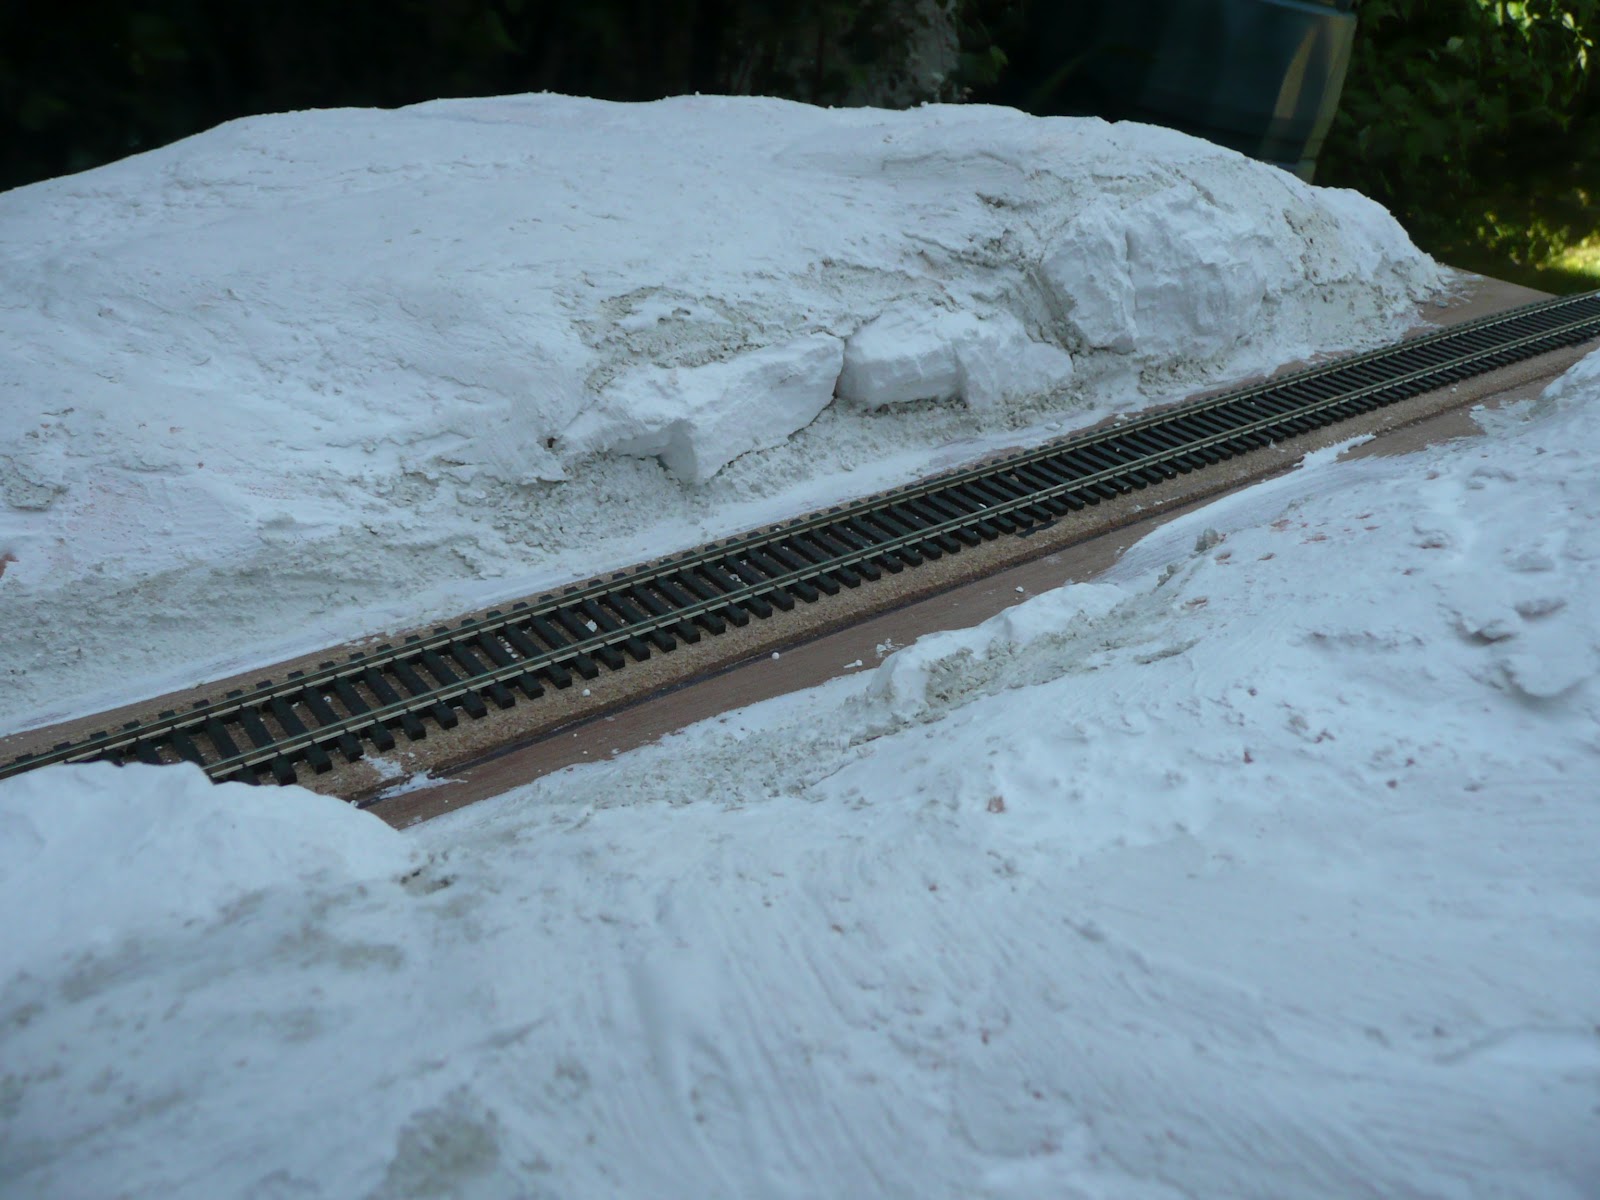
I stained the woodland scenics rock castings using a wash of grey acrylic paint, really watered down and it helped to bring out the detail in the castings and certainly looks believable.


I've painted the entire board with a matt brown earth colour, painting as close to the rock castings as I dare with the large brush.  I plan to fill in the areas closer to the rocks using a smaller brush and some green paint to form a base coat for the ground foam grass and scrub.

I also plan to try and airbrush some dirt and gravel colours onto the lower trackside and the dirt road beside the farm.

The next step will be laying out the last part of the street, with the baseplates for the three custom fitted stores.  I plan to trim one of the Rix kits to form an angled centrepiece to fill the awkward space on the top right of the board (where the paint can is in the top picture).

Saturday 26 May 2012

Freemo Module Update - Plastering Time


With the club show only fifteen weeks away, I've been working on my module to get the scenery in place. 


The insulation foam was shaped a while back, and I've been adding a layer of Woodland Scenics Hydrocal plaster and Sculpt-a-Mold to shape the edges and gaps.


I've got about half of the board coated with plaster, and I also used some Woodland Scenics rock moulds to cast a few rockfaces for the cutting.  This was the first time I've tried using the hydrocal and woodland scenics moulds, previously I had used scrunched up tinfoil and polyfilla.


I laid in some plasticard to form the street surface and sidewalks, and for each of the DPM building kits I cut a custom 'foundation' shape and glued it in place (because the module is portable I need to be able to remove the buildings) these foundation pieces will also allow me to bed in the buildings to the ground surface and minimise gaps.


The sculpt-a-mold is a thick oatmeal style of plaster that gives an excellent gap filling coverage and is very lightweight.


All of this is a bit messy, so thankfully with the summer weather I've been able to crack on with the module in the back garden.  I will hopefully get a few more days work on it in the coming week or so.


Next I need to finish the other side of the street and then add another layer of hydrocal to fill out the remaining gaps and then add the fascia boards and blend the scenery into them.


I've also begun working on the iron bridge for the rural end of the board, and I've measured and cut the pieces for the side girders and wooden decking, making sure that there is enough clearance for those pesky autoracks!

Friday 18 May 2012

Back from the brink... basket case SD70 lives again.

I bought a job lot of three locomotives on ebay over a year ago, and one of them was this Athearn Genesis SD70m in CSX livery.  It was in bad shape when I got it, as you can see here in my original post.

I washed the heavy weathering off the shell and then put everything back together, I needed to order a few parts from Athearn, including a new set of drive wheels, and it wasn't long before I had the main parts back together and running. 

The engine wasn't DCC ready so I decided to fit the engine with a MRC sound decoder board and ordered a rectangular speaker housing to pace inside the long hood.  Then I realised the speaker wouldn't fit on top of the frame as there wasn't enough space.


The engine went back into a box until I could think about what to do with it, originally I had thought I would need to buy a smaller speaker, but then when I looked at the engine again recently I realised that the frame could be cut down to size without affecting the driveshaft clearance and there would be room to fit the speaker.


I had to cut about a centimeter off the top of the rear chassis weight, I dismantled the engine again and used a hacksaw to cut off the excess metal.  It's important to strip the engine, otherwise the metal filings from the cut will ruin the motor.

I then brushed off all the filings and reassembled the chassis, taking care to put everything back in the correct orientation.


With the chassis reassembled, I was able to tape the speaker enclosure in place and re-wire the connections before giving everything a test run to make sure it was fully functioning.


Predictably the lights were connected for 12v instead of 1.5v so they burned out instantly when I applied the power.  So much for my electrical skills!   I will need to invest in a new set of bulbs or a set of led lights for this locomotive.

I have a spare set of SD70 handrails ready to paint in CSX colours for the pilots, and I still need to number and weather the unit, but at least it's back together and running once again.  Not bad for an engine that's been in pieces for years.


Next I really should revisit the Kato SD70ACE that was part of the same ebay lot, it's also awaiting rebuild and would only take an hour or so to get back on the rails.