Saturday 29 January 2011

Now I am the master...


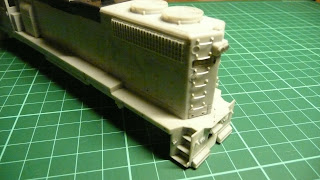
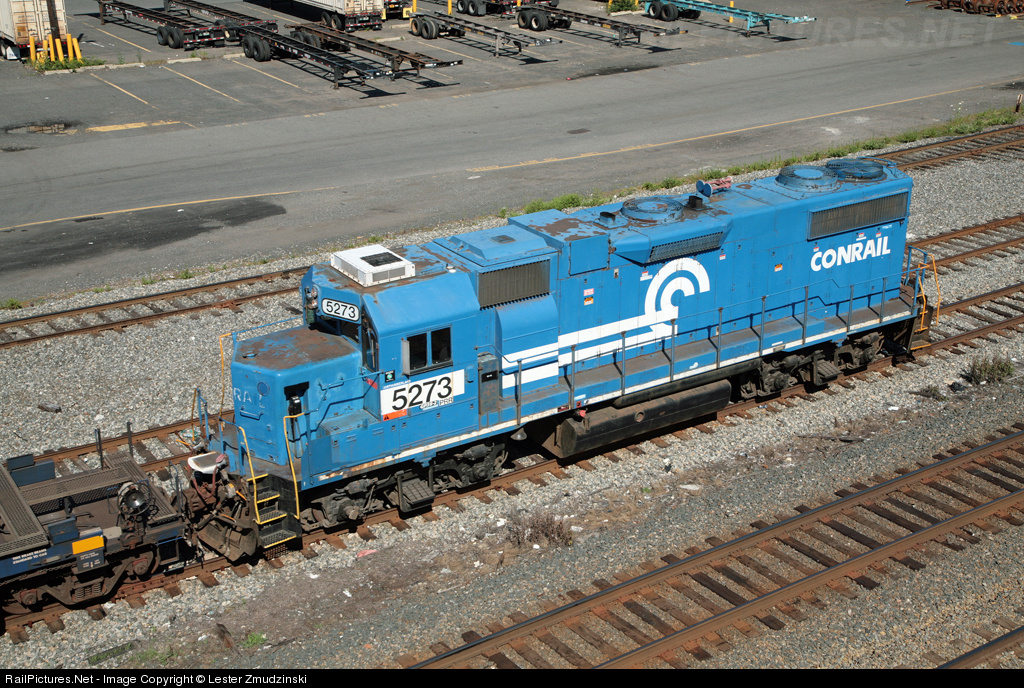
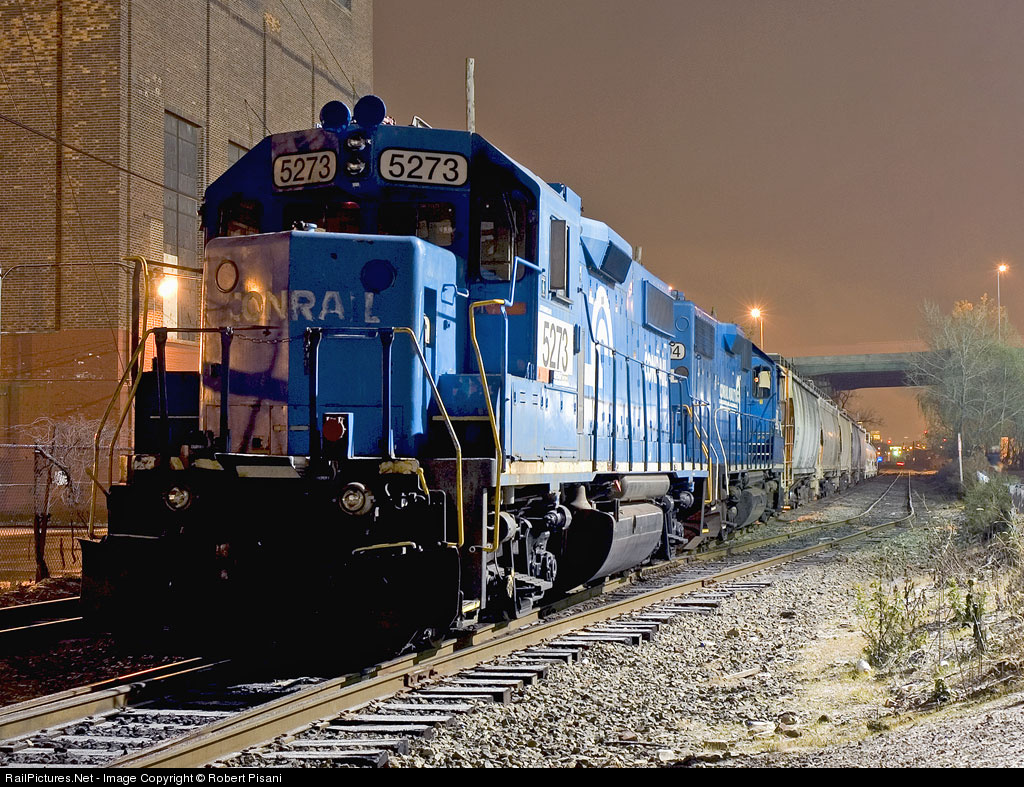
My latest engine purchase turned up today, my first Atlas Master series locomotive, a second-hand GE Dash 8-40B in conrail livery.  The previous owner has renumbered it as a CSX patched engine.  This is an incredibly detailed model, with factory fitted grab-irons, all manner of pilot detail, etched radiator grilles, roof details, truck side details and pretty much everything you could want.  It's hard to think of any part of it that would need extra detail.  Truly an amazing engine and I picked it up on ebay for only £30.


It's not perfect, there are a few missing detail parts, a slightly damaged handrail and the number boards have come unstuck on the rear end, but for £30 it's a real steal.

I plan to renumber it as a Norfolk Southern patched engine, and weather it.   The missing details and broken parts will only take a few minutes with the glue, some decals and the addition of a couple of Details West sunshades to finish it off.  This engine even comes with DCC as standard, so I can leave it as-is on the control side of things until I get a sound decoder for it later.


I also recieved my latest freight cars, a pair of Walther Gold Line UTLX 23,000 Gallon Tank cars.  These are also really great looking models, with separate metal guard rails and a small packet of extra detail grabirons to add even more detail.


The detail on these tank cars is really nicely applied, and they even have different road numbers, a far cry from the old Roundhouse kit tank cars I was used to.

Wednesday 26 January 2011

Athearn GP38-2 Rebuild - Update

[image]

[image]


[image]


Here's a quick update on progress with the rebuild. I've added grab-irons to both nose ends, some etched brass walkway treads, front coupler lift bar and air-conditioner to the roof.

I'm trying to decide if I want to replace the side radiator grilles, or just go with the athearn detail. Also I need to figure a way to match the different fan types without going too far into drilling and cutting the shell to fit cannon ones.

This is my first time using most of these parts, I never did much more than repaint and add grab irons to any of the engines I had when I was younger!

I've filled the slots in the pilot plates with plasticard and added styrene blocks inside the shell ready to be drilled and tapped to hold the chassis in place.

This project is definitely a lot of fun, but as this is the first time out for me in many years, and this engine is a bit of a test-bed for techniques, I'm probably not going to get too bogged down in creating an exact replica of every last detail on the engine, I just want to get the main elements.

I still have a number of Details West/Cannon parts to add including snow plow, mu hoses, windscreen wipers, lift hooks, airhorns and rear coupler lift bar.

Tuesday 25 January 2011

It's all in the details.


I've been working on my Athearn GP38-2, adding the grabiron details.  This is my first time using my new 0.035 drill bits, and it's going well so far.

The slots on the pilots have been filled with plasticard, and the mounting points for the shell have been added inside the body.  These are blocks of styrene that I will drill and tap to attach the body to the frame since the body mounting lugs are missing.

Next I will be adding the front end details, including the lift irons, the plow and MU cables and other smaller details.

I've just picked up a job lot of Details West lifting rings on ebay, so I will be adding those to this shell when they arrive.

Tuesday 4 January 2011

Making an Impack with eBay!

I recieved my latest ebay purchase in the post today, a job lot of Athearn Impack spine cars. I got two five car sets, one ATSF and a mixed BN/Brown TTX, plus a further set of ends and inters ready to be assembled, and eight truck trailers, all for $25 which is a great price for these wagons and especially good for a fifteen car set.


I've ordered a set of Microscale decals and I will strip and repaint the Burlington Northern cars to create a yellow TTX set, and I will be swapping the wheels and adding washers to the bogie frames to help prevent derailments.  The truck trailers will also be repainted and then weighted and permanently attached to the frames with wire loops to bring the cars up to NMRA weight standards.

I used to have a Cotton Belt set of these cars back when I had my old layout, so it's good to have a new set and it'll be fun detailing these cars to a more modern standard.

Sunday 2 January 2011

GP38-2 Norfolk Southern 5273 (ex Conrail)

Here are some details on the ex-Conrail GP38-2 that I will be modelling using the basket-case Athearn RTR engine.

This is No 5273, an engine which was still in Conrail livery as recently as a year ago.  I don't know if this engine has since been repainted into the Black NS livery, but I will be modelling it as seen here, in Conrail Blue, with a white air conditioner on the roof.


Bringing a basket case back to life - The Athearn RTR GP38-2 Project begins.

I started work on the basket case Athearn GP38-2 today.  The first job was to strip the paint.  I used 99% Alcohol and soaked the body parts in a sealed tupperware tub.
It took a lot longer than I expected, nearly five hours of soaking, and a lot of scrubbing with a toothbrush.


Here's a 'before' shot showing the previous owners attempt at weathering.


[image]


Here are the parts soaking in a tupperware tub.


[image]


[image]


Here are some shots of the stripped engine. There are still some areas of black paint clinging on, especially in the nooks and crannies of the truck sides, and the underside behind the steps.


[image]


[image]


Annoyingly, I've managed to lose the small cab step edge from behind the cab, it probably fell off during the scrubbing process! I will need to fabricate a new edge from plasticard.


Two of the damaged body mounting lugs fell off in the alcohol, so I guess they had hairline fractures or were already loose. I am going with the suggested screw mounting for the body, so that shouldn't be a problem.


Next step will be to begin drilling the holes for the various Cannon & Co grabirons I purchased for this build.


I've also purchased a Dynamic Brake housing to replace the non-dynamic section on the roof, as this engine is going to become a Norfolk Southern unit and the prototype has dynamic brakes.